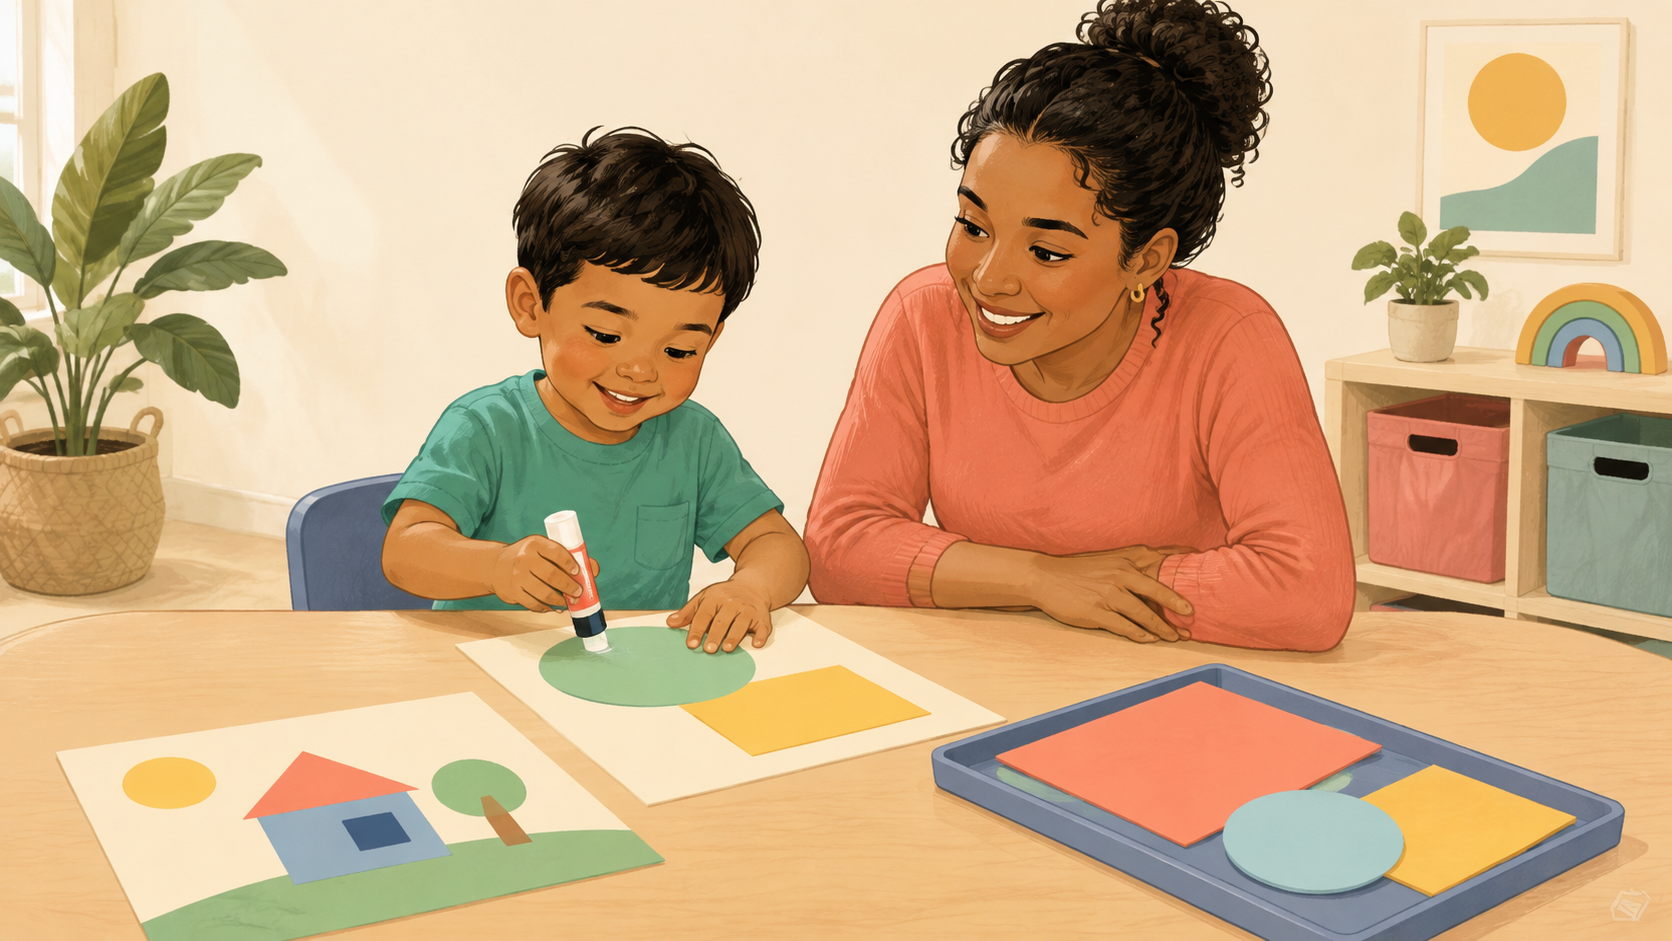
Using a glue stick is a small craft task with a surprising number of steps. A preschooler must open the cap, hold the paper still, twist the glue to a useful height, press lightly, cover an area, place the shape, and remember to close the glue. The goal is not a perfect collage. It is safe, successful participation in a short creative routine while an adult supervises and manages materials that are not appropriate for the child.
Choose a child-safe setup
Use a washable, nontoxic glue stick labeled for the child’s age and follow the manufacturer’s directions. Work at a stable table with the child’s feet supported when possible. Place only the materials needed for one short project on a tray.
An adult should inspect the glue stick, remove damaged packaging, and supervise from within reach. Keep liquid glue, hot glue, spray adhesive, super glue, solvents, and unlabeled products out of children’s access.
- Washable nontoxic glue stick
- Large paper shapes
- One base sheet
- Nonslip mat or tray
- Damp cloth for hands
- Adult within reach
Teach a simple open-twist-glue-place-close sequence
Use the same short words each time and demonstrate beside the child. Give one cue, then pause so the child can organize the movement.
- Open — pull or gently twist off the cap
- Twist — raise only a small amount of glue
- Glue — rub the paper with light, slow strokes
- Place — turn the shape over and press
- Close — twist down and replace the cap
- Clean — wipe hands and the table
Use backward chaining for an early success
Backward chaining means the adult completes most of the task and the child performs the final step. Begin by applying the glue and let the child place and press the shape. Next, let the child make one glue stroke before placing it.
Add only one step at a time. Keep the project short enough that the child can finish while still regulated and interested.
- Press a prepared shape
- Place and press the shape
- Make one glue stroke
- Cover one large marked area
- Twist the glue up and down
- Complete the short sequence with picture cues
Build two-hand coordination
Glue-stick crafts use bilateral coordination: one hand works while the other stabilizes. Show the child how the helper hand holds the edge of the paper away from the glue path.
If the page slides, tape the corners of the base sheet to the table or use a nonslip mat. A stable surface lets the child focus on the hand movement.
- Hold the paper with the helper hand
- Glue from the center toward the edge
- Turn the paper instead of reaching across it
- Press with a flat palm
- Carry the finished page with two hands
Practice the pressure and amount
A glue stick works best with a small amount raised above the tube and gentle pressure. Too much glue can break, crumble, or drag the paper. Show the child one slow stroke and compare it with pressing too hard on scrap paper.
Use a simple cue such as ‘soft swipe.’ If the child twists the glue too high, calmly twist it down together rather than treating the mistake as misbehavior.
- One small twist
- Two or three slow strokes
- Glue stays on the paper
- Cap returns after use
- Project rests flat to dry
Support sensory comfort and attention
Some children dislike sticky fingers, the smell of art materials, paper scraps, or the feeling of pressing. Identify the specific discomfort and change one part of the task instead of forcing contact.
Offer two safe choices: blue or yellow paper, circle or square, glue one shape or two. Keep a damp cloth nearby, but avoid wiping the child’s hands repeatedly without asking.
- Use a low-odor washable product
- Keep the glue on a tray
- Offer a clean press tool or flat palm
- Limit the project to a few pieces
- Give a clear finished spot
- Praise a specific step: ‘You held the paper still’
Try three easy glue-stick activities
Choose projects with a clear beginning and end. Prepare large pieces before the child joins so the activity focuses on gluing rather than waiting.
- Shape picture — glue three large shapes onto a page
- Color match — place two or three large colored pieces on matching circles
- Paper road — glue wide paper strips to make a path for a toy car
Safety and when to seek support
Supervise throughout the activity. Follow the product label, wash hands afterward, and keep glue away from the mouth, eyes, skin irritation, pets, and food surfaces. Do not let a young child use hot glue, instant adhesive, solvent-based glue, spray adhesive, or industrial craft products.
Consider speaking with a pediatrician or pediatric occupational therapist when fine-motor or preschool tasks regularly limit participation, the child has marked difficulty using both hands, loses skills, experiences pain or unusual weakness, or has strong distress with ordinary craft textures. An OT can consider grasp, coordination, sensory needs, task demands, and the environment.
This article is for education and does not replace individualized medical or therapy advice. Stop any activity that causes pain or distress, and consult your child’s qualified provider when you have concerns.