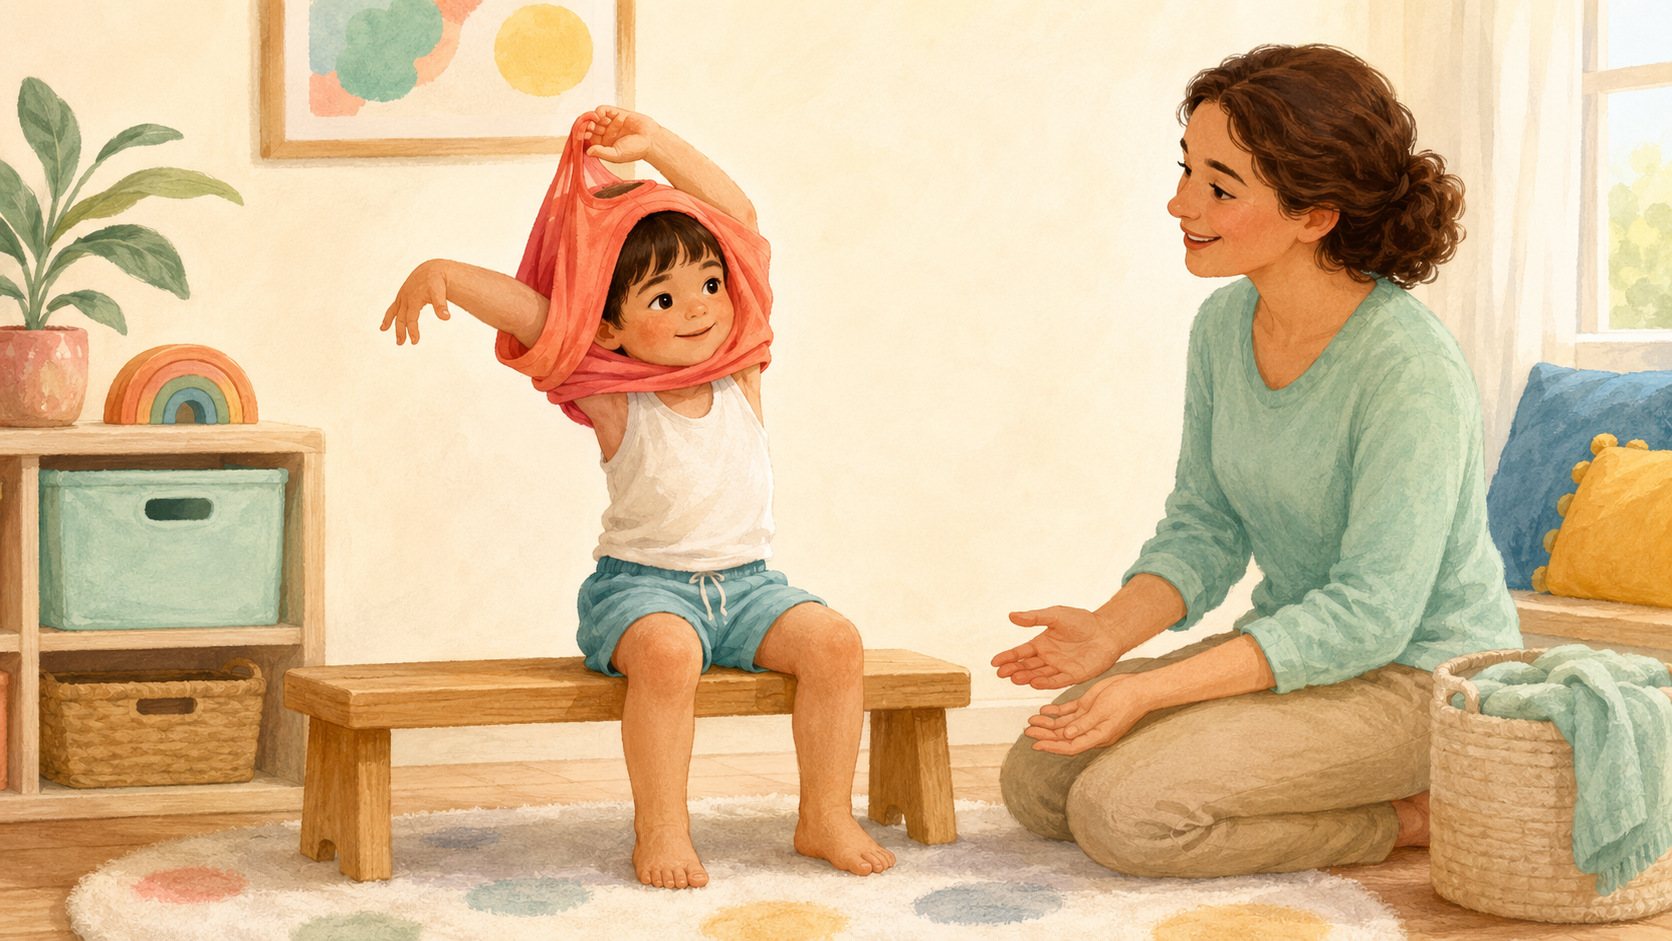
Taking off a pullover shirt asks a preschooler to balance, reach across the body, find the hem, use two hands together, lift the fabric over the head, and free each arm without becoming tangled. It can also involve strong sensations around the face, ears, and shoulders. Start with a loose shirt, practice when there is no rush, and teach one small part at a time.
Choose a shirt that makes learning easier
Begin with a loose, soft T-shirt or lightweight sweatshirt with a wide, stretchy neck opening and no hood, buttons, tight cuffs, or complicated layers. The fabric should slide easily over the child’s hair and ears.
Practice after the child has already worn the shirt, not while trying to complete a full dressing routine. Avoid oversized garments that may cover the face for too long or sleeves that hang far beyond the hands.
- Soft, lightweight fabric
- Wide stretchy neckline
- Loose short or open sleeves
- Correct size without tight cuffs
- No cords, jewelry, or bulky layers
Create a stable and respectful setup
Have the child sit on a low, stable bench or chair with feet supported and enough space around the elbows. Sitting reduces the balance demand and makes it safer to pause while fabric is briefly over the face.
Explain what will happen and ask before physically helping. Practice in a private, comfortable place and stop if the child has pain, breathing difficulty, panic, or asks to stop.
- Feet flat or supported
- Clear space around both arms
- Adult close by
- Warm, private room
- No rushing before school or bed
Teach one consistent sequence
Use the same short cues each time and demonstrate beside the child with your own loose shirt or a doll’s shirt. Pause after each step so the child can plan the movement.
- Find — grasp the bottom hem with two hands
- Lift — pull the hem toward the chest
- Arms up — continue lifting toward the shoulders
- Head out — tip the chin slightly and lift over the head
- One arm, then the other — slide each arm free
- Basket — place the shirt in its usual spot
Use backward chaining for an early success
Backward chaining means the adult completes the beginning and the child finishes the last step. At first, help lift the shirt over the head and let the child pull one arm free and place the shirt in the basket.
Next, let the child free both arms, then help only with the head, and gradually move toward the beginning of the sequence. Give only the amount of help needed for a calm success.
- Child puts the shirt in the basket
- Child frees the final arm
- Child frees both arms
- Child lifts the shirt over the head with help
- Child completes the full sequence with brief cues
Practice finding and lifting the hem
Many children pull from the collar because it is easier to see, but this can tighten fabric around the neck. Teach the child to slide both hands down to the bottom edge and grasp one side in each hand.
A small removable fabric-safe marker on the inside front hem can show where to begin. Practice finding the hem while the shirt is worn loosely over another top.
- Hands travel down the sides
- Thumbs or fingers hook under the hem
- Both hands pull up together
- Elbows move outward
- Fabric clears the chin before the head
Build the supporting skills through play
Taking off a pullover uses shoulder movement, two-handed coordination, body awareness, and motor planning. Short games can practice these foundations without repeatedly undressing.
- Pull a large pillowcase off a cushion
- Lift a fabric ring from waist to shoulders
- Play arms-up movement songs
- Reach across to collect scarves from each hip
- Dress and undress a large doll
- Place soft laundry into a low basket
Support sensory comfort and confidence
Some children dislike fabric brushing the face, static, tight neck pressure, hair pulling, or not being able to see for a moment. Choose familiar soft clothing, remove irritating tags when safe, loosen the neckline with your hands before the child starts, and warn before each touch.
Let the child choose whether to free the arms or head first when both options are safe. Practice for one or two calm turns and praise a specific action such as finding the hem or using both hands.
- Use familiar soft fabric
- Keep hair and glasses out of the way
- Give one cue at a time
- Allow a pause before the shirt covers the face
- Stop before distress becomes overwhelming
Safety and when to seek support
Stay close whenever clothing is near the face or neck. Remove necklaces, lanyards, drawstrings, and rigid hair accessories before practice. Keep the floor clear and stop immediately if fabric catches, breathing changes, the child loses balance, or there is pain. Never use a plastic bag or tight elastic item for practice.
Consider speaking with a pediatrician or pediatric occupational therapist when shirt removal regularly limits dressing, toileting, preschool participation, sleep, or family routines; when there is pain, marked weakness, unusual stiffness, frequent one-sided use, loss of a skill, breathing difficulty, or intense sensory distress. An OT can consider posture, shoulder movement, coordination, motor planning, sensory needs, clothing, and the environment.
This article is for education and does not replace individualized medical or therapy advice. Stop any activity that causes pain or distress, and consult your child’s qualified provider when you have concerns.