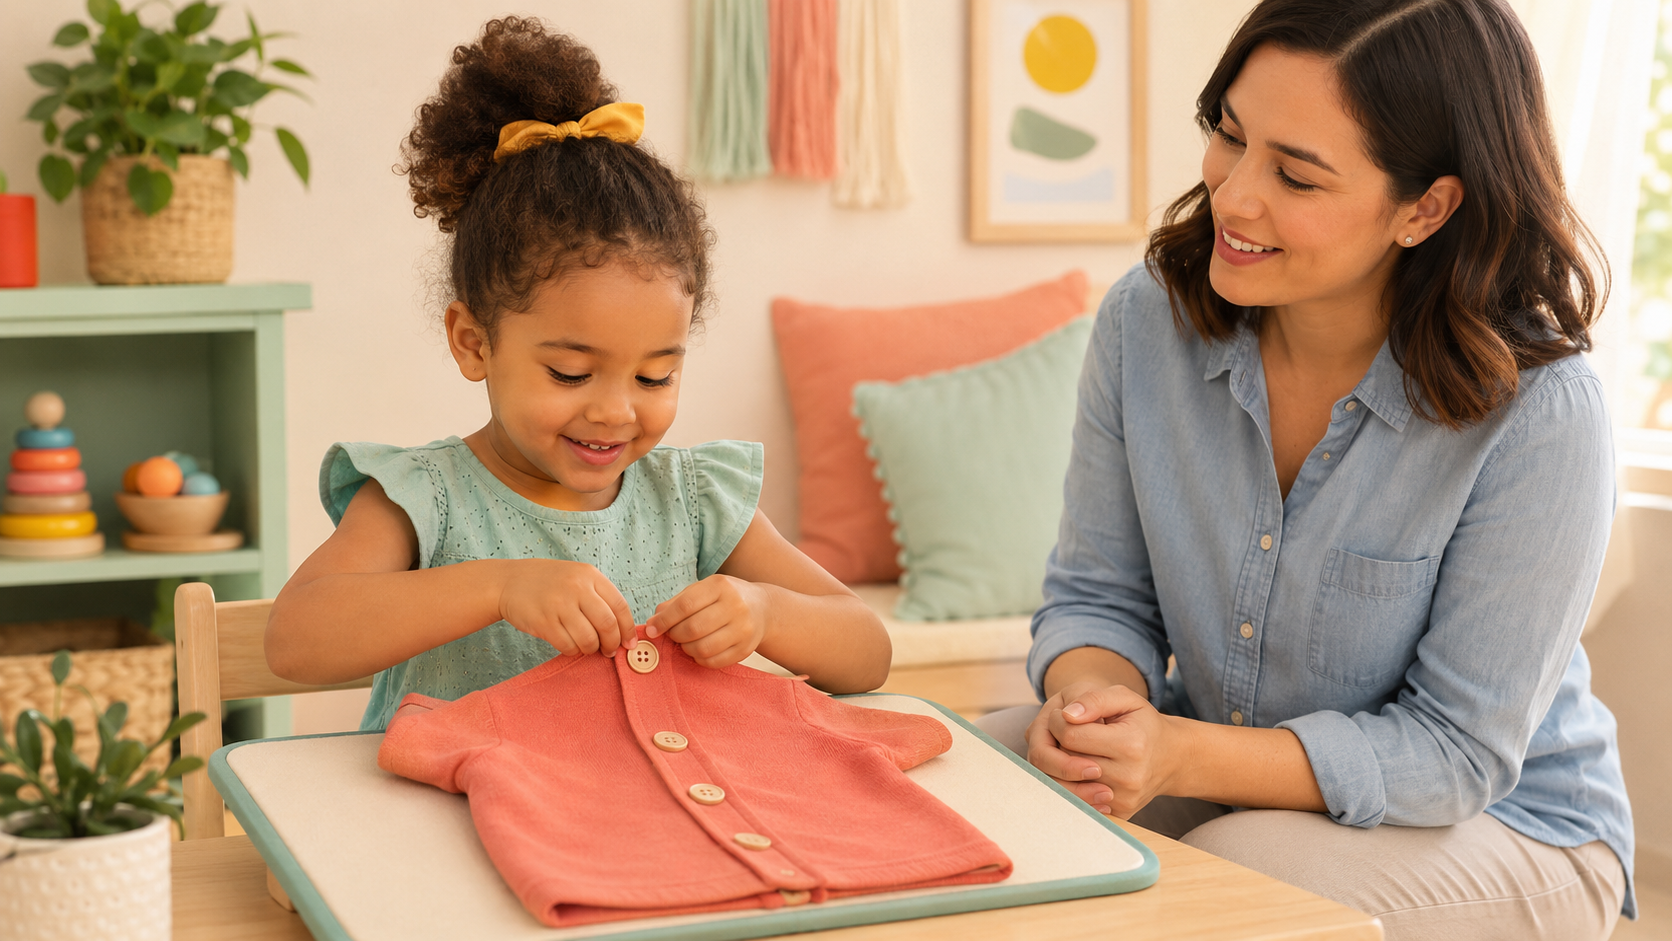
Buttons ask a preschooler to use two hands for different jobs while looking closely, feeling for a small opening, planning a sequence, and managing fabric near the body. One hand steadies the cloth and buttonhole while the other turns, pushes, pinches, and pulls the button through. Many children can participate in parts of the task before they can finish every button alone. Start with unbuttoning, practice away from the body, and teach one small step at a time.
Begin with unbuttoning
Taking a button out is usually easier than putting it in. Lay a loose cardigan, pajama top, or dressing board on a table and open the bottom button together. Let your child pull the button the rest of the way through, open the garment, and repeat with another large button.
Use clothing with large, flat buttons, roomy buttonholes, soft fabric, and strong color contrast. Tiny, slippery, decorative, or tightly sewn buttons add difficulty that has little to do with the child’s ability.
- Start with one or two large buttons
- Practice on the table before wearing the garment
- Use the bottom button where the hands can see it
- Finish after two or three calm successes
Create a stable, easy-to-see setup
Seat your child with feet supported and place the garment directly in front. Smooth the fabric so the buttonhole is visible. Practicing on a table reduces the balance, body-awareness, and visual demands of working on clothing that is already being worn.
When moving to worn clothing, begin with a loose cardigan or shirt opened at the front. Avoid rushing before preschool, bedtime, or toileting.
- Use good lighting
- Keep elbows near the body
- Place the button at midline
- Hold extra fabric away from the working area
- Sit beside the child so your demonstration matches their view
Teach four short cues
Keep language brief and use the same words every time. Demonstrate slowly on your own button or on a second garment instead of moving the child’s hands through the sequence.
- Find — locate the button and its matching hole
- Turn — tip the button so one edge points toward the hole
- Push — slide that edge through the opening
- Pinch and pull — grasp the edge on the other side and pull the rest through
Use backward chaining for an early win
Backward chaining means the adult completes the beginning and the child finishes the last step. Push most of the button through and let the child pinch the visible edge and pull it free. Next time, leave less of the button showing. Gradually give the child the turning and pushing steps.
For unbuttoning, the adult can expose the button edge on the far side and let the child pinch and pull it back through. Move forward only when the current step feels manageable.
- Adult positions and pushes; child pulls
- Adult turns the button; child pushes and pulls
- Child finds and turns; adult steadies the fabric
- Child completes the sequence with short verbal cues
- Fade cues when the movement becomes familiar
Build the supporting skills through play
Buttoning uses fingertip strength, two-handed coordination, visual attention, and the ability to hold one object steady while moving another. Short play activities can strengthen these foundations without repeating the dressing task.
- Post large craft sticks or cards through a slot
- Open and close clothespins on a container edge
- Peel and place large stickers
- Pull ribbon through wide holes in cardboard
- Hide large toy coins in playdough and pull them out
- Hold a jar with one hand while the other turns the lid
Move from easy practice to real clothing
Progress gradually: a large button on loose fabric, several buttons on a table, a garment draped over the lap, and finally clothing worn on the body. Begin with the bottom button, which is easier to see. Teach the child to check that the sides are even before continuing upward.
If buttons become misaligned, undo the last one and match the bottom button with the bottom hole. A small removable fabric-safe marker beside the matching pair can help during early practice.
- Choose soft fabric that does not collapse
- Use contrasting buttons and holes
- Practice one button before a whole row
- Let the child choose a comfortable shirt
- Keep a simpler fastener available on rushed days
Support sensory comfort and frustration
Some children dislike tight collars, fabric rubbing the neck, hard buttons pressing the belly, or an adult’s hands close to the body. Practice with the garment off the body first and ask permission before touching the child or clothing.
Use one calm cue, offer a short pause, and stop after a successful step. Avoid turning every dressing routine into practice. Children learn more readily when they feel safe and have enough time.
- Offer two comfortable garment choices
- Begin with loose front-opening clothing
- Warn before helping
- Use a first-then cue: “One button, then shoes”
- Praise persistence and problem-solving, not speed
Troubleshoot the exact step
Watch where the sequence breaks down before changing the task. A child who cannot find the hole needs a different support from a child who can push the button but cannot grasp it on the far side.
- Cannot find the hole: use stronger color contrast and flatten the fabric
- Button will not enter: choose a larger hole or tip one edge first
- Button slips back: keep the helper hand close to the hole
- Cannot pinch the edge: push more of the button through
- Buttons end up mismatched: start at the bottom and match one pair at a time
- Child tires quickly: practice one button with forearms supported
Safety and when to seek support
Check clothing regularly for loose, cracked, or sharp buttons and repair them before use. Supervise young children with any detached button or small practice material, and store them securely after play. Avoid tight neck openings and dangling cords. Stop for pinched skin, pain, numbness, swelling, or significant distress.
Consider talking with a pediatrician or pediatric occupational therapist when fastener difficulties regularly affect dressing, toileting, preschool participation, or confidence; when there is pain, marked weakness, tremor, unusual stiffness, frequent one-sided use, or loss of a skill. An OT can consider posture, hand strength, coordination, vision, sensory needs, motor planning, and the clothing itself.
This article is for education and does not replace individualized medical or therapy advice. Stop any activity that causes pain or distress, and consult your child’s qualified provider when you have concerns.