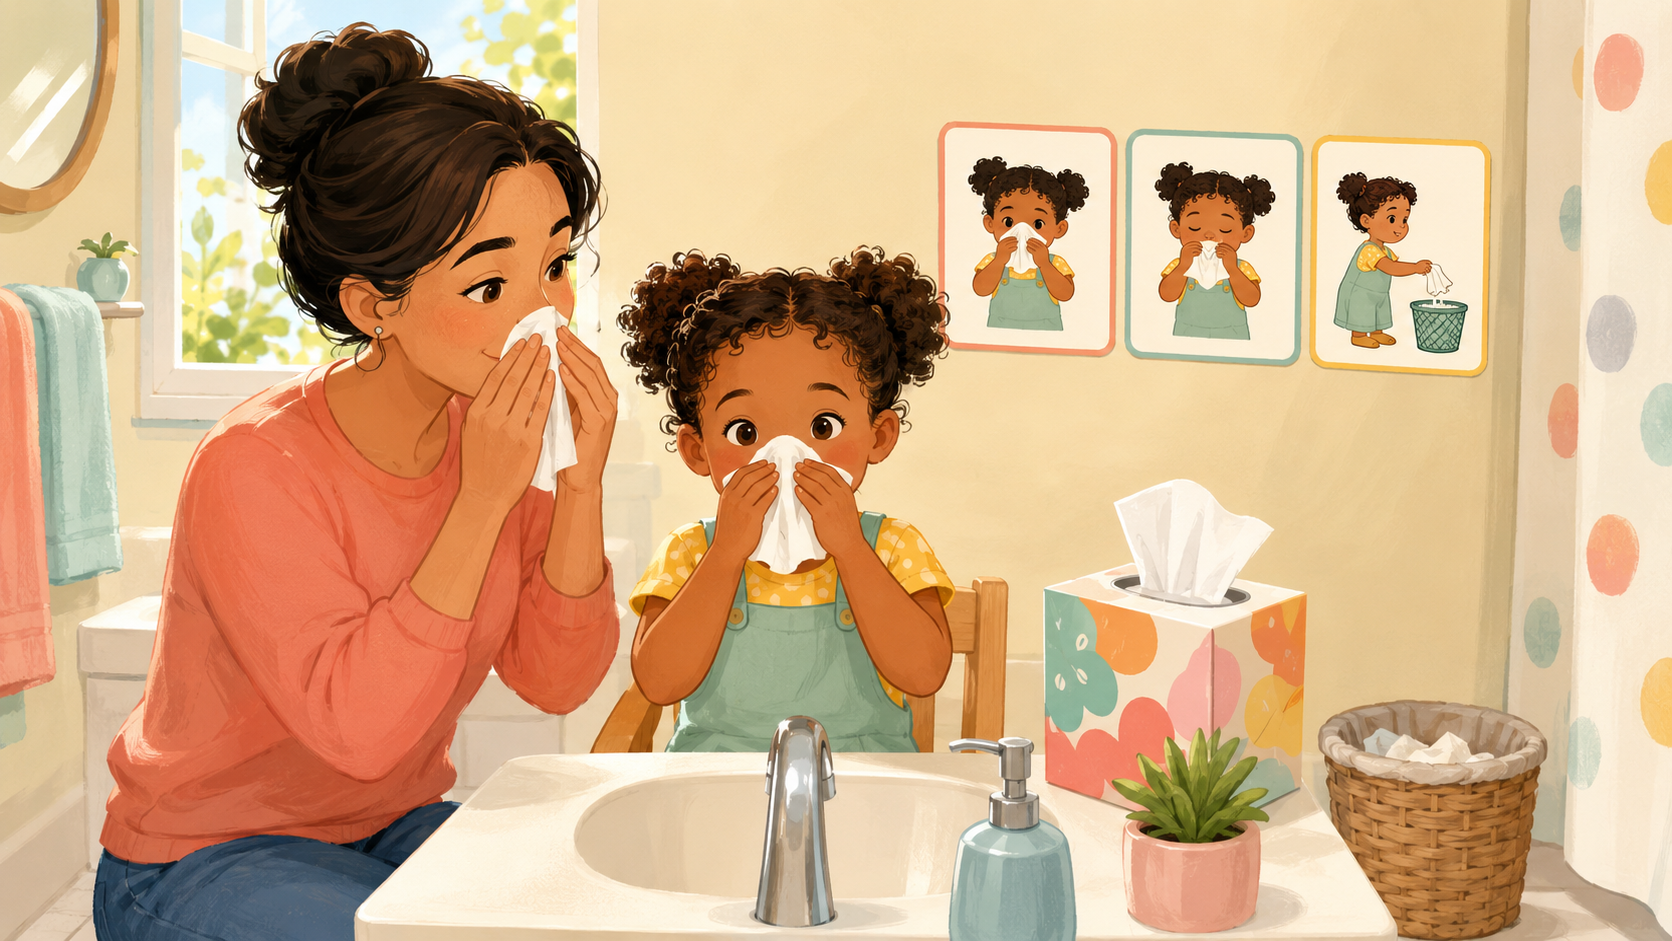
Blowing the nose is a small self-care task with many hidden steps. A child has to notice the sensation, get a tissue, keep the mouth closed, direct air through the nose, use gentle pressure, wipe, throw the tissue away, and wash their hands. Many children are ready to begin learning around ages 2–3, but mastery takes practice. Teach the movement during a calm, healthy moment so the routine is familiar when a runny nose arrives.
Start with participation, not a powerful blow
The first goal is not to clear the nose perfectly. It is to help your child recognize the routine and take one active step. A child may begin by getting a tissue, holding it to the nose, closing the mouth, making a tiny puff, wiping, or carrying the tissue to the trash.
An adult can complete the parts the child cannot yet manage. Independence grows when the child receives just enough help and repeats the same short sequence.
Practice air direction before adding a tissue
Some preschoolers blow through the mouth because that movement is more familiar. First help the child feel the difference between mouth air and nose air. Practice for only a minute or two when the child can breathe comfortably through the nose.
- Blow out a pretend birthday candle with the mouth
- Close the lips and make a gentle nose puff
- Hold a small mirror below the nostrils and look for a little fog
- Place your own hand below your nose to feel the air, then let the child try
- Alternate: mouth air, nose air, all done
Teach one short nose-blowing sequence
Use the same words, pictures, or gestures every time. A six-step routine is easier to remember than a long explanation. Keep tissues and a wastebasket in a predictable place.
- Get one tissue
- Cover the nose gently
- Close the mouth
- Give one gentle nose puff
- Wipe under the nose
- Trash the tissue and wash hands
Try one nostril at a time only when comfortable
If air is moving but mucus is not clearing, an adult can demonstrate gently pressing the outside of one nostril closed while blowing through the other, then switching sides. The pressure should be light, and the child should never be forced to continue.
Some children do better with both nostrils open. Use the method that feels comfortable and produces a gentle outward airflow.
- Keep the mouth closed without clenching
- Use one brief puff per side
- Pause between attempts
- Wipe rather than rub irritated skin
- Finish after one or two successful tries
Use backward chaining for quick success
Backward chaining means the adult begins the routine and the child completes the last step. At first, the adult may hold the tissue and help with the gentle blow while the child throws the tissue away. Next, the child wipes and throws it away. Later, the child holds the tissue and follows more of the sequence.
This approach lets the child experience completion immediately while the adult still keeps the routine clean and effective.
- Week one: child carries the used tissue to the trash
- Next: child wipes, then uses the trash
- Next: child gets and positions the tissue
- Later: child makes a gentle puff with a visual cue
Support sensory comfort
Wetness, facial touch, tissue texture, loud blowing sounds, and seeing mucus can feel unpleasant. Treat these reactions as information. Adjust one feature at a time while keeping the routine brief and predictable.
- Offer two soft, unscented tissue choices
- Let the child hold the tissue instead of receiving unexpected touch
- Use a mirror so the child can see what is happening
- Give a warning before wiping
- Pat or wipe in one direction instead of rubbing
- Apply only skin products recommended for your child
Make hygiene part of the skill
Healthy nose care includes what happens after the blow. Public-health guidance recommends using a tissue for coughs and sneezes, placing used tissues in the trash, and washing hands immediately after blowing the nose, coughing, or sneezing.
At home and preschool, use the same final cue: “Trash, then hands.” Wash with soap and water for at least 20 seconds. An adult should supervise young children and help them complete handwashing.
- Keep tissues near common play and sleep areas
- Use a lined, easy-to-reach wastebasket
- Do not reuse or share tissues
- Clean frequently touched surfaces during illness
- Teach the elbow cover for a cough or sneeze when no tissue is available
Practice without turning illness into a lesson
When a child is tired, feverish, very congested, or upset, provide care rather than requiring independence. Practice the sequence with a doll, pretend play, or a clean dry tissue on another day. For younger children who cannot blow, a pediatrician can advise families about appropriate saline or suction methods.
At preschool, a small visual near the tissue box can support the same steps. Tell teachers which cue works best and what level of help your child currently needs.
Safety and when to seek medical support
Never insert tissues, cotton swabs, tools, or other objects into a child’s nostrils. Do not force a child to blow, hold both nostrils closed, or continue after a nosebleed. Follow medical guidance after bleeding; blowing may need to be avoided while the nose heals.
Contact a pediatric clinician for persistent congestion, frequent nosebleeds, significant pain, fever with concerning symptoms, difficulty sleeping or eating because of breathing, or concerns about allergies. Seek prompt care for trouble breathing, facial swelling, a suspected object in the nose, an injury, heavy or persistent bleeding, or one-sided foul-smelling discharge. A pediatric occupational therapist may help when motor planning or sensory difficulties consistently interfere with nose care and other daily routines.
This article is for education and does not replace individualized medical or therapy advice. Stop any activity that causes pain or distress, and consult your child’s qualified provider when you have concerns.