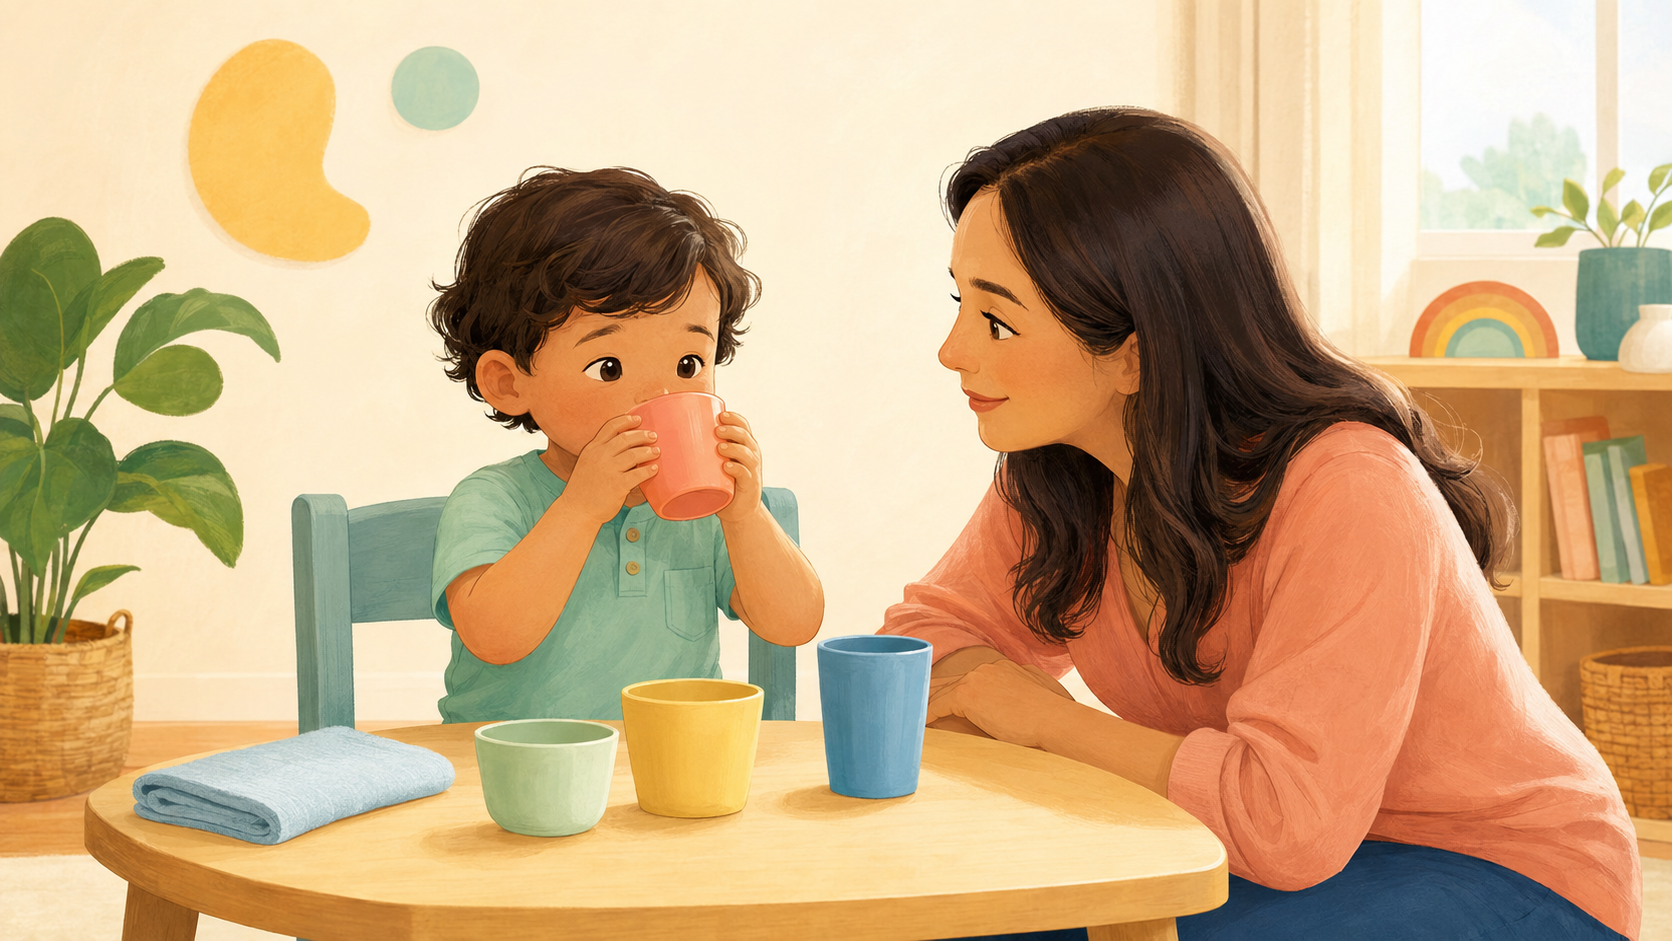
Drinking from an open cup is more than lifting and sipping. A young child has to sit steadily, use both hands, judge how far to tip the cup, close the lips around the rim, coordinate breathing and swallowing, and stop before the liquid spills. Short, low-pressure practice can help children learn these movements while keeping mealtimes comfortable.
Start with readiness, not a deadline
Children learn cup skills at different rates. Some begin exploring an open cup during infancy with close adult support, while others need more time because of motor, sensory, developmental, or feeding differences. The goal is safe participation and gradual learning—not reaching independence by a particular birthday.
Practice when your child is awake, calm, seated, and interested. Avoid introducing a new cup skill when the child is very hungry, tired, upset, congested, or rushing to finish a meal.
Create a stable drinking position
A stable body makes precise mouth and hand movements easier. Seat your child upright with the head centered, hips supported, and feet resting on the floor, a footrest, or a sturdy box. Keep the cup near the middle of the body and stay within arm’s reach.
- Use a supportive high chair or child-sized chair and table
- Keep the child’s chin in a comfortable neutral position
- Avoid drinking while walking, running, reclining, or riding in a moving vehicle
- Place a small towel nearby so spills feel manageable
- Offer the cup before the child becomes overly thirsty
Choose a small, simple cup
A lightweight cup that fits small hands is easier to control than a tall, heavy tumbler. A narrow rim can help the child take a small sip without opening the mouth very wide. Clear cups let adults see the liquid approaching the rim.
- Begin with a small cup holding only a little liquid
- Choose a smooth, unbroken rim without sharp edges
- Use side handles if they help the child bring both hands to the cup
- Avoid cups that are heavy, easily shattered, or too wide for the child’s mouth
- Use the liquid and consistency already considered safe for your child
Teach four simple steps
Use the same short sequence at each practice. Model one slow sip from your own cup, then let the child try.
- Two hands — hold the cup on both sides
- Rim to lips — bring the cup to the mouth
- Small tip — tilt just until the liquid reaches the lips
- Cup down — return it to the table before taking another sip
Begin with tiny pours
Pour only one or two small sips at first. A nearly empty cup is lighter, moves more slowly, and limits the size of a spill. Refill after each successful attempt instead of handing over a full cup.
Some children learn best when an adult steadies the bottom of the cup while the child holds the sides. Gradually reduce that support as the child controls the movement.
- Start with the cup already close to the lips
- Pause after each sip
- Use one neutral cue such as “small tip”
- End after a few successful attempts
- Practice regularly, but do not turn every drink into a lesson
Practice the hand movement through play
Cup play can build coordination without asking the child to drink. Use clean cups during supervised water play at a sink or sensory bin, then dry them before mealtime.
- Stack two or three lightweight cups
- Carry an empty cup with two hands from one place to another
- Pour a small amount of water from one cup into another
- Place a toy animal beside the cup and pretend to offer it a drink
- Practice cup up, pause, and cup down with an empty cup
Respond calmly to spills
Spills are part of learning to grade force and angle. Keep the amount small, use a washable mat, and invite the child to help wipe the table without shame. A strong reaction can make the child tense or avoid practice.
Try saying: “The cup tipped too far. Let’s wipe it and try a smaller tip.” Specific information is more helpful than “Be careful.”
Respect sensory preferences without forcing
Some children dislike a wet upper lip, a cold rim, a particular cup material, or the unpredictable flow of an open cup. Change one feature at a time: try room-temperature liquid, a familiar cup, a smaller pour, or touching the empty rim to the lips before adding liquid.
Offer practice, but do not hold the cup against the mouth, pour through crying, or pressure the child to take another sip. A calm relationship with eating and drinking is more important than completing a set number of trials.
- Let the child choose between two safe cups
- Use a mirror so the child can watch the cup angle
- Keep a preferred towel within reach
- Pair practice with a familiar meal routine
- Stop when the child turns away, closes the mouth, or becomes distressed
Safety and signs to seek support
An adult should supervise every open-cup practice. Use only beverages and consistencies your child safely manages, follow food-allergy and hygiene guidance, and check the cup for cracks or sharp edges. Do not use very hot liquids. Avoid small ice pieces or garnishes that may be choking hazards.
Stop the drink and allow the child to recover if coughing occurs. Seek individualized guidance from a pediatrician, speech-language pathologist, occupational therapist, or feeding specialist if drinking regularly causes coughing, choking, gagging, wet or gurgly breathing or voice, color change, breathing difficulty, repeated chest illness, pain, marked fatigue, poor growth, dehydration concerns, or refusal that limits nutrition and participation. Breathing difficulty or color change requires urgent medical attention.
This article is for education and does not replace individualized medical or therapy advice. Stop any activity that causes pain or distress, and consult your child’s qualified provider when you have concerns.