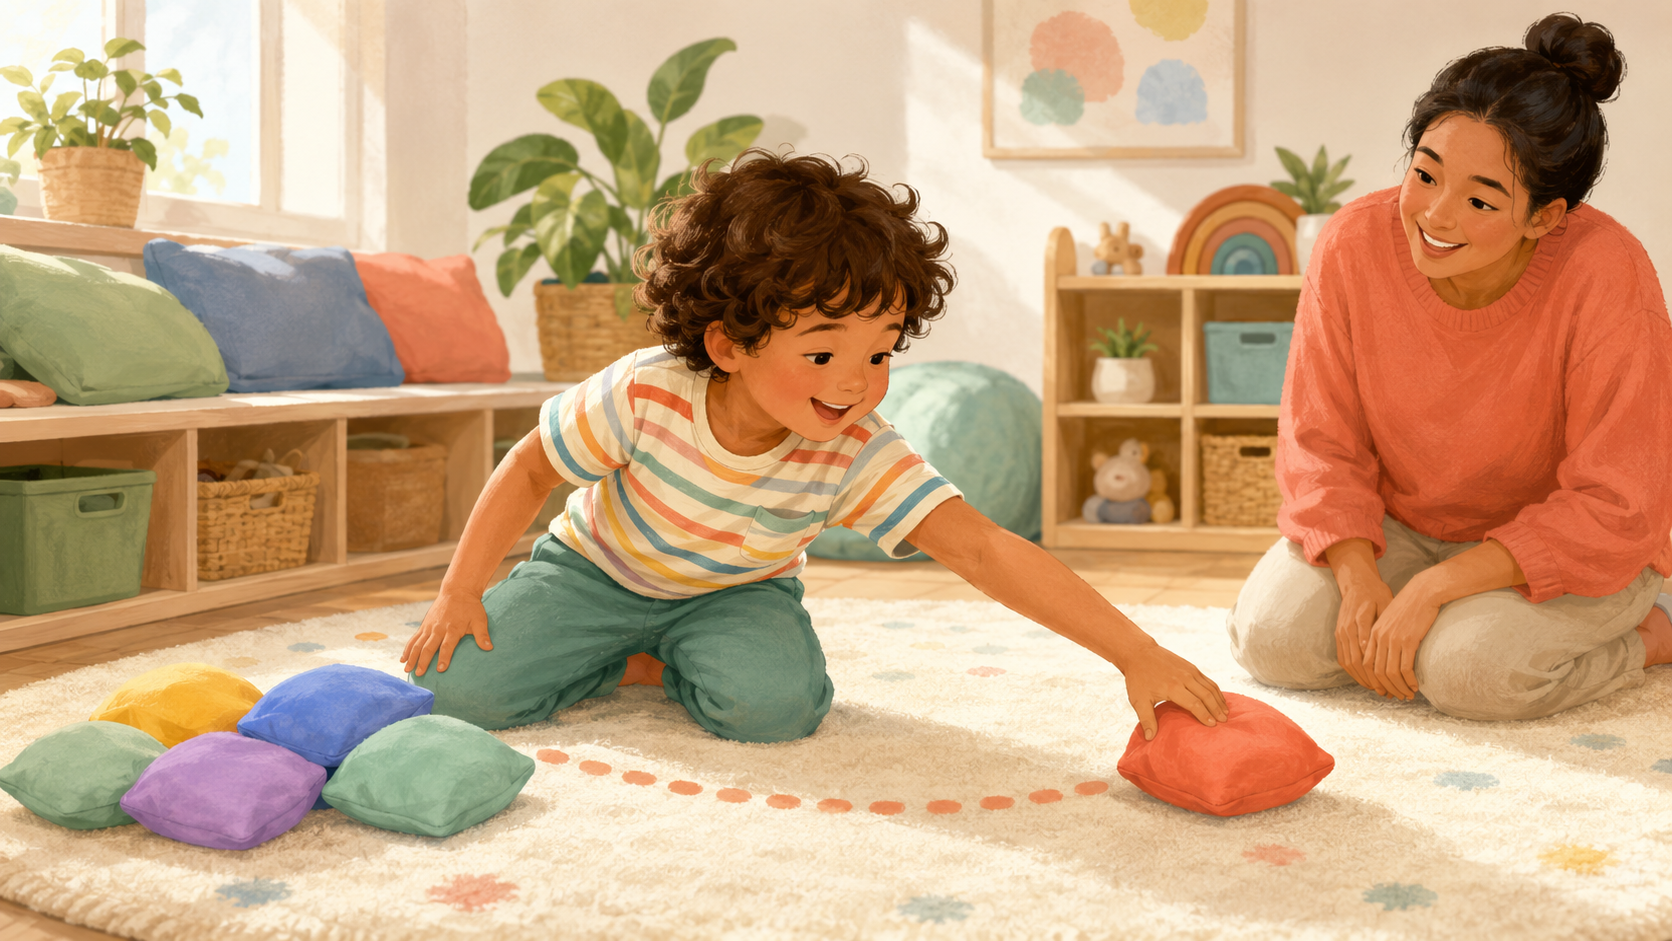
Imagine a line running from the top of your child’s head to the floor, dividing the body into left and right sides. Crossing the midline happens when a hand, foot, or eye moves across that imaginary line to work on the opposite side. Children use this skill when they draw across a page, reach for a sleeve, wash the opposite arm, stir a bowl, and play. It develops through everyday movement—not through drills or pressure. These games invite practice while keeping the child in charge.
What crossing the midline can look like
A child who crosses the midline comfortably may keep using the same hand while drawing from one side of a page to the other or reach across the body for a toy. A child who is still developing the skill may switch hands at the middle, turn the whole body, move the paper, or avoid objects on the opposite side.
Those strategies are not bad behavior. They show how the child is solving the task right now. Offer playful opportunities, watch for gradual change, and never force a preferred hand.
- Keep materials near the middle instead of far to one side
- Let the child choose which hand begins
- Model a slow reach across your own body
- Celebrate participation, not perfect form
1. Rainbow scarf sweeps
Give your child a light scarf or small washcloth. Stand or sit facing the same direction and slowly sweep it in a wide rainbow from one side of the body to the other. Let the eyes follow the scarf. Try high rainbows, low rainbows, and gentle side-to-side “windshield wipers.”
- Begin with two hands holding the scarf
- Try one hand after the movement feels familiar
- Keep both feet pointing forward when comfortable
- Add music and stop after one short song
2. Cross-body sticker trail
Tape a large sheet of paper to a wall at your child’s chest height. Place removable stickers or sticky notes on the table to the child’s right and invite the right hand to place them on targets to the left. Then reverse the setup for the other hand.
A vertical surface helps the child see the path of the hand. Keep the targets close to the middle at first and move them farther across only when the reach stays comfortable.
- Make a curved road, rainbow, or pretend garden
- Use large stickers that peel easily
- Hold the paper steady with the helper hand
- Finish after five to eight placements
3. Feed the animal from the other side
Use a toy animal, puppet, or box with a large opening. Put several pretend foods on one side of the child and the animal slightly across the middle on the other side. The child picks up one item and reaches across to feed it.
Turn it into a simple story: “The bear would like one berry,” or “The puppy found a crunchy carrot.” Language, choice, and pretend play make the movement meaningful.
- Start with large soft play foods
- Use tongs only if grasping them is already easy
- Switch sides halfway through the game
- Let the child move the animal if the reach is too hard
4. Draw giant sideways eights
On a chalkboard, easel, or large paper, draw a slow sideways figure eight that crosses the center. Invite your child to trace the road with a finger, toy car, sponge, chalk, or crayon. Start at the middle and travel around one loop, through the center, and around the other.
Large paths use the shoulder and trunk before asking for small pencil control. The shape does not need to be accurate; the goal is a smooth trip across both sides.
- Trace with the index finger first
- Drive a toy car around the road
- Wipe the shape with a damp sponge
- Use one color for each turn
- Try three calm repetitions
5. Beanbag delivery
Place a basket beside the child’s left knee and a few soft beanbags near the right hand. Ask the child to pick up one beanbag with the right hand and deliver it across to the basket. Reverse the sides for the next round.
For younger children, sit on the floor with feet forward or in a stable chair with feet supported. For older preschoolers, turn the delivery into a color-sorting game.
- Keep the basket within an easy reach
- Use one hand at a time rather than passing between hands
- Try slow reaches before adding speed
- Count only if counting keeps the game enjoyable
6. Opposite-knee action song
Sing a familiar slow song while touching one hand to the opposite knee, then switch sides. The child can copy you, touch a sticker placed on each knee, or tap opposite shoulders instead. Pause between movements so there is time to plan.
Some children first need to watch, then move with both hands together, and only later alternate sides. All three versions are useful practice.
- Right hand to left knee
- Left hand to right knee
- Two hands to two knees
- Right hand to left shoulder
- Left hand to right shoulder
7. Across-the-body cleanup
Place a small basket beside the child and scatter a few large toys mostly on the opposite side. Ask the child to stay seated or kneeling and put each toy into the basket with one hand. Then move the basket and repeat on the other side.
This turns practice into a real household routine. It also lets you observe whether the child can reach, return to the middle, and continue without rushing.
- Sort blocks by color
- Put toy animals into their barn
- Move socks into a laundry basket
- Collect bath toys with the opposite hand
Make practice easier and know when to ask for help
Begin with whole-body play and large objects. Seat the child with feet supported, place the activity directly in front, and offer one short cue such as “reach across.” If the child switches hands, turns, or pauses, quietly make the distance smaller. Five enjoyable minutes are enough.
Consider discussing concerns with a pediatrician or pediatric occupational therapist when difficulty using both sides of the body affects drawing, dressing, eating, playground play, or preschool participation; when one side is consistently avoided; or when there is pain, weakness, unusual stiffness, loss of skills, or a new asymmetry. An OT can look at posture, strength, coordination, vision, sensory needs, motor planning, and the demands of daily activities.
- Choose a calm, alert time
- Use large lightweight materials
- Clear the floor and support the feet
- Stop for pain, dizziness, distress, or fatigue
- Adapt activities for known motor or medical needs with the child’s clinician
This article is for education and does not replace individualized medical or therapy advice. Stop any activity that causes pain or distress, and consult your child’s qualified provider when you have concerns.