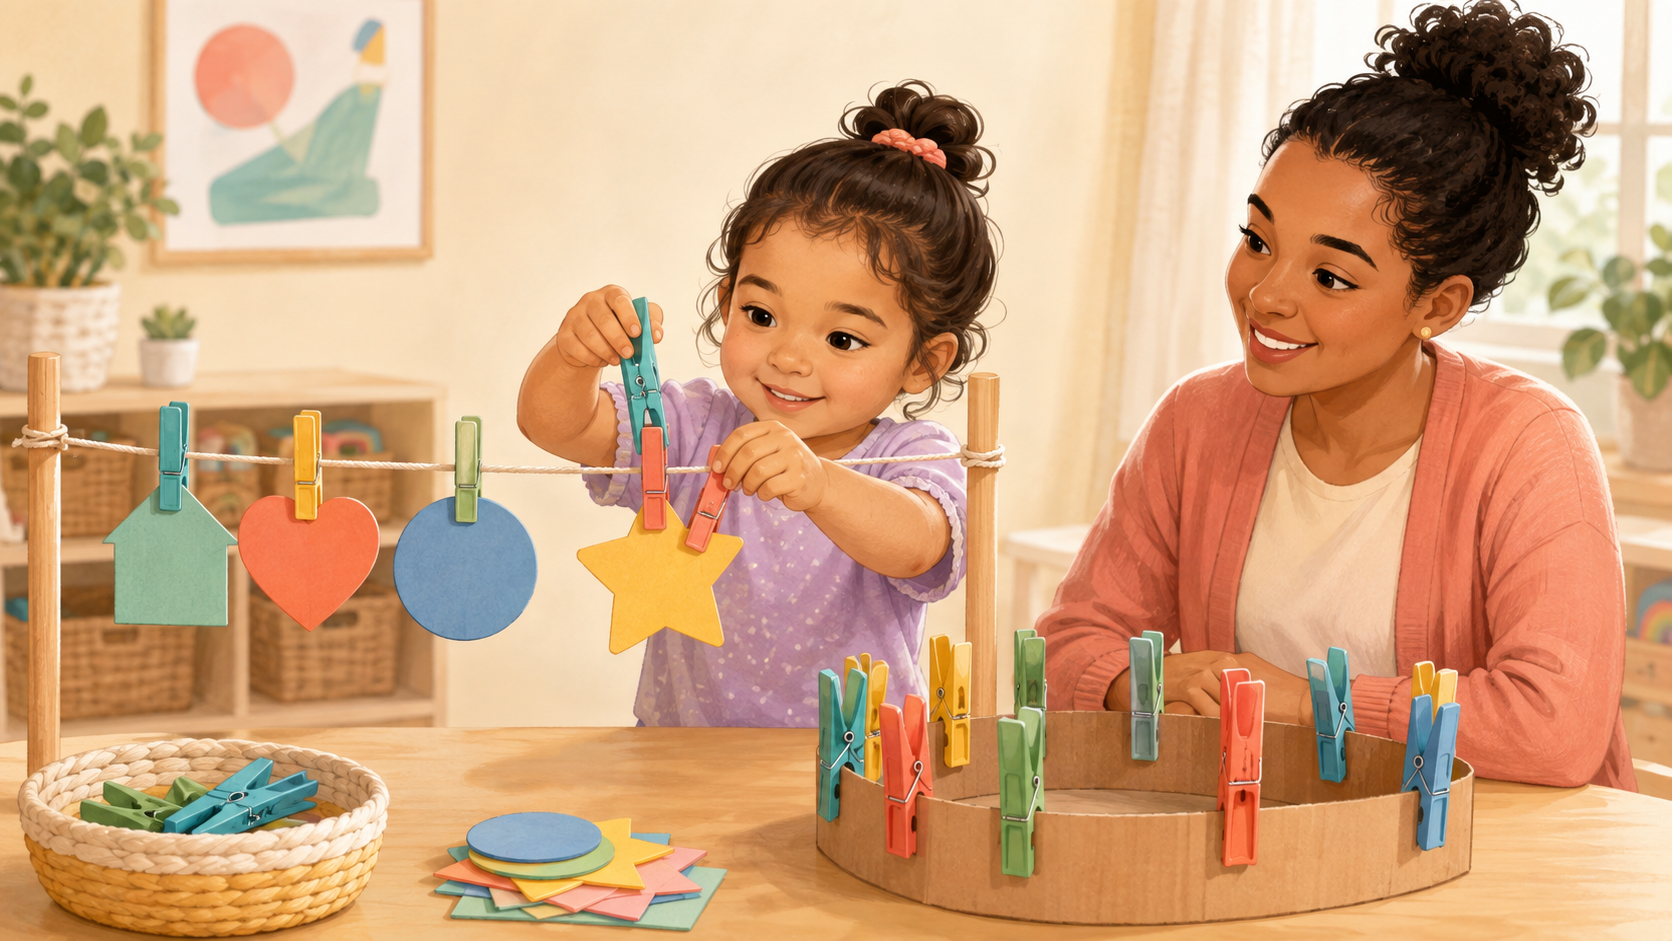
Opening a spring clothespin looks simple, but it asks a child to position the fingers, squeeze with graded force, aim at an edge, release at the right moment, and use the other hand to hold the object steady. These seven short games turn that movement into playful practice. The goal is not to force a perfect pencil grasp. It is to help little hands become stronger, more coordinated, and more confident through supervised play.
Start with a safe, successful setup
Choose large, smooth clothespins with an easy spring. Inspect each one before play and discard any cracked wood, sharp edges, rust, loose metal, or pieces that can detach. Seat the child at a stable table with feet supported when possible.
Model one slow squeeze and release. Begin with only three to five pins so the activity feels achievable.
- Adult supervision within reach
- Large intact clothespins
- Wide cardboard or container rim
- Large paper shapes or fabric squares
- A tray to keep materials together
1. Clip the sunshine rays
Cut a large yellow circle from sturdy cardboard. The child holds the circle with one hand and clips clothespins around the edge to make sunshine rays.
Place a small sticker on the squeezing end if the child needs a visual cue for where the fingers go.
- Start with three rays
- Turn the circle after each clip
- Count the rays together
- Alternate yellow and orange pins
2. Feed the color monster
Draw a friendly face on a clean box and place colored dots around its rim. The child matches a clothespin to each dot and clips it on as pretend food.
Keep the story simple: ‘The blue monster wants a blue snack.’ Matching adds visual discrimination without changing the hand movement.
- Match two colors first
- Name the color before clipping
- Let the helper hand rotate the box
- Remove the pins together when finished
3. Hang a tiny laundry line
Tie a short cord securely between two low, stable supports that an adult controls. Let the child hold a washcloth or large paper sock with one hand while clipping it with the other.
Start with the adult holding the fabric. Then transfer more of the stabilizing job to the child.
- Hang doll washcloths
- Match pairs of paper socks
- Sort light and dark colors
- Take everything down into a basket
4. Rescue the animals
Clip large animal picture cards around the rim of a shallow box. The child squeezes each pin to ‘rescue’ the animal and places the card in a matching habitat picture.
Removing pins is often easier than putting them on, making this a good starting game for a child who is still learning the squeeze.
- Farm animals to the barn
- Ocean animals to the water
- Pets to the house
- Count how many were rescued
5. Build a number wheel
Divide a cardboard circle into sections with one to five dots. Ask the child to clip the matching number of clothespins onto each section.
Use only the quantities the child understands. The fine-motor goal remains successful clipping, not testing math skills.
- Count slowly while clipping
- Touch each dot once
- Use one pin per dot
- Stop before the hand becomes tired
6. Make a pattern train
Place a long strip of sturdy cardboard on the table. Start a simple color pattern with clothespins—blue, yellow, blue, yellow—and invite the child to continue it.
The helper hand slides or turns the strip while the working hand clips. Switch the strip’s direction occasionally so both sides of the body participate.
- Begin with an AB pattern
- Copy a two-pin model
- Let the child invent a pattern
- Name what comes next
7. Deliver letters and pictures
Attach large picture cards to clothespins and create matching ‘mailboxes’ from cups or cardboard pockets. The child clips each picture onto the correct destination.
Try an apple for A, a sock for the clothing basket, or a spoon for the kitchen. Use familiar pictures and only a few choices.
- Match identical pictures
- Match objects to rooms
- Match beginning sounds when developmentally appropriate
- Let the child choose the final delivery
Make the activity easier or harder
If opening the pin is difficult, use pins with a gentler spring, let the child remove pins first, or squeeze hand-over-hand briefly and then fade help. A vertical surface can encourage wrist position, while a tabletop is more stable.
To increase the challenge, add reaching across the middle of the body, more precise targets, simple patterns, or a short cleanup sequence. Stop if the child shakes the hand, switches repeatedly because of fatigue, complains of pain, or becomes distressed.
- Easier: fewer pins, thicker edge, adult stabilizes
- Harder: smaller target, pattern, reach across midline
- Keep practice to five or ten successful minutes
- Praise the action: ‘You squeezed and aimed carefully’
This article is for education and does not replace individualized medical or therapy advice. Stop any activity that causes pain or distress, and consult your child’s qualified provider when you have concerns.